
Turn everyday trips into thoughtful visual stories by learning travel photography basics, from simple composition and framing ideas to working with natural light, tuning smartphone camera settings, and building a reliable photo backup routine that protects the moments you care about most.
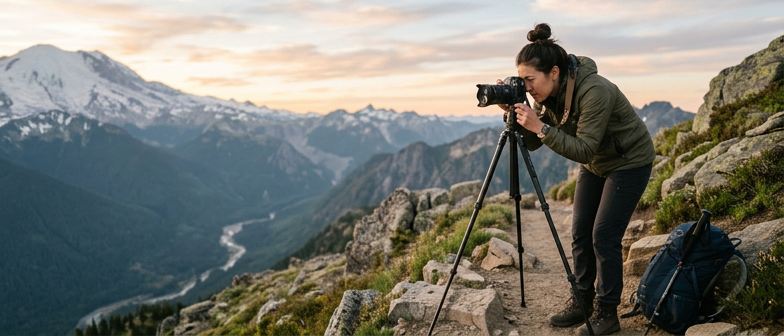
Understanding Travel Photography Basics
Travel Photography Basics start with a simple idea: you use images to remember how a place felt, not just how it looked. Focus on a clear subject, a clean background, and a sense of place instead of trying to capture everything. Technical choices like focus, exposure, and white balance help you record the scene, while decisions about where you stand, when you press the shutter, and how you frame the subject shape the mood. When you pay attention to both camera settings and the story you want to tell, even everyday moments on a trip can become meaningful photographs.
Thinking in terms of a storytelling image sequence makes your travel photos feel intentional. Instead of one isolated shot, build a visual narrative: start with a wide view that sets the context, move to medium scenes of people or key locations, then finish with close details or a final moment that shows how the day ended. This mix of establishing shots, mid‑range views, and tight close ups trains you to notice different aspects of a place and to see connections between images, so your travel albums read like a coherent story rather than a set of random snapshots.
Composition and Framing on the Road
Strong composition sits at the heart of travel photography basics because it turns the visual chaos of unfamiliar places into clear, engaging images. Before you press the shutter, decide what the photo is really about, then place your subject with intention instead of centering it by default. Use a thirds-based grid, balance the subject against another element, and tidy the edges of the frame so distracting objects, crooked lines, or clutter do not pull attention away from what matters.
When you shoot on the move, practical framing tips help you work quickly in busy streets and landmarks. Look for paths, rails, or building lines that lead the eye toward your subject, and change your viewpoint by crouching, stepping higher, or shifting to a side angle to make ordinary scenes feel more dynamic. Add depth by including doorways, arches, or nearby objects as a loose frame around people or architecture, whether you are using a compact camera or a phone and only have a moment to capture the shot.
As you repeat these habits, composition becomes less about strict rules and more about supporting the story you want to share from each place. Some scenes benefit from a simple, uncluttered frame that highlights a single detail; others come alive when you include layers of people, signs, and texture to show the atmosphere. By treating every stop as practice in seeing backgrounds, horizons, and crops before you shoot, you gradually build a consistent visual style that makes your travel photos easier to enjoy and remember.
| Check Before Shutter | Why It Matters | When It Helps | Attention Level |
|---|---|---|---|
| Clear main subject | Keeps story focused | Busy markets or streets | High |
| Use rule-of-thirds grid | Adds balance and flow | Landmarks and cityscapes | High |
| Clean frame edges | Reduces stray distractions | Crowded tourist areas | High |
| Check horizon and lines | Prevents tilted scenes | Seascapes and skylines | Medium |
| Add foreground framing | Creates depth and context | Doorways, arches, windows | Medium |
| Simplify or add layers | Matches mood to story | Minimal scenes or dense crowds | Medium |
Framing People and Street Scenes
When you photograph people in public spaces, think of each frame as a short story, not a random snapshot. Use simple composition and framing tips, like placing your subject off center, cleaning up the background, or using a doorway or window to frame them. This structure guides the viewer’s eye and makes everyday travel moments feel deliberate.
Busy streets can feel chaotic, so build your street scene awareness by slowing down and watching how people move through light, shadow, and intersections. Choose one element to anchor your frame, such as a crosswalk or café table, then wait for someone to enter that space. Stay observant and respectful, avoiding intrusive close‑ups, and use careful framing to show the street’s energy without turning the scene into clutter.
Working with Natural Light While Traveling
Natural light is one of the most important tools in travel photography basics because it shapes mood, color, and clarity. When you are on the move, watch how light changes instead of expecting the camera to fix a flat scene. Early morning and late afternoon give soft, warm light that flatters people, buildings, and landscapes. Midday sun is harsher, so look for open shade, turn your subject away from direct light, or use bold shadows as part of the frame. By noticing where light falls and how intense it feels, you move from random snapshots to intentional choices.
To strengthen your natural light practice, treat each new stop as a quick exercise. Before shooting, pause and check the sun’s direction, the sky’s color, and reflective surfaces such as water, glass, or pale walls. Photograph the same subject from different angles and compare how light changes texture and contrast. On cloudy days, rely on the soft, even light for portraits and street scenes without deep shadows. When light is low at dusk or indoors near a window, steady your camera against a wall or railing and ask your subject to hold still so slower shutter speeds still produce sharp images.
Working with natural light on the road is about adapting quickly to whatever conditions you find. If you cannot shoot at golden hour, choose subjects that suit the light, such as silhouettes in strong sun or reflections on wet streets. Notice how light interacts with people, architecture, and landscapes so you can anticipate moments instead of reacting late. This awareness leads to more consistent results, even with a smartphone, and supports thoughtful, well lit travel stories rather than a random mix of photos.
Simple Light Exercises You Can Do Anywhere
Pick one small scene, such as a doorway or café table, and photograph it at different times of day. Notice how the direction and strength of natural light change the mood, from flat and quiet on cloudy mornings to dramatic and contrasty in late afternoon. Repeat this simple exercise in new places to see how available light shapes texture, color, and shadow before you even raise the camera.
Getting the Most from Your Smartphone Camera
In travel photography, your smartphone can be a capable camera when you adjust a few basics instead of relying only on full auto. Tap the screen to set focus and exposure, and lower brightness if the scene looks washed out. Turn off strong filters so you can choose the final look later, and use grid lines to keep horizons straight and subjects balanced in the frame. As part of your travel photography basics, make sure images save at the highest resolution and enable high dynamic range when you face bright skies and darker foregrounds.
Good technique matters as much as any smartphone camera settings. Stabilize shots by holding the phone with both hands, keeping your elbows close, and tapping the shutter gently, especially in low light or when zooming. Use built‑in tools such as night or portrait modes and simple editing sliders rather than carrying extra gear, and practice using natural light by moving closer to windows or turning subjects toward softer illumination. This combination of basic control and awareness helps you capture steady, clear images that fit easily into a wider travel story without needing a separate camera.
Q&A
What is the main goal of travel photography for beginners?
Aim to show how a place felt, not only how it looked. Pick a clear subject, keep the background simple, and choose a viewpoint that suggests the location and mood.
How can I improve composition and framing on the road?
Turn on the grid, place key subjects near the crossing lines, and check frame edges for clutter. Move closer or sideways until lines look neat and distractions shrink.
How do I photograph people and street scenes with respect?
Use clean framing, like doorways or windows, and avoid blocking paths or shops. When possible, make brief eye contact, give a friendly smile, and back off if anyone seems uneasy.
How should I practice using natural light?
Notice light direction and softness, especially in early or late daylight. Revisit the same spot at different times and compare how the light changes mood, contrast, and shadows.
Which phone settings and backup habits help while traveling?
Use high resolution, HDR for bright skies, and tap to focus and tweak exposure. Turn on automatic cloud backup when online, and save important images to a second service or drive.